How to make LEDs flash and servos move
Basic electronics part 5
This page is about the PICAXE microcontroller, check out the main index for the rest.
There is also a YouTube video about this.

This is a very high level overview of the PICAXE microcontroller. These are used in schools to teach electronics and there are resellers worldwide, there is lot so of documentation and information at www.picaxe.com – start with the ‘manuals’ section. The main reason that I use PICAXE chips is because they are much cheaper than other microcontrollers and don’t require any special/expensive programmer – this means they are effectively disposable which is also great for learning because it doesn’t matter if you destroy a few.
I’m using a PICAXE-08 development board/kit for these examples, but also pictured are the PICAXE-18 board and the PICAXE-40 board. You’ll also need the download cable which has a 3.5mm stereo audio style connecter on one end, and connects to a computer with USB at the other end. The software for programming the PICAXE is free from the PICAXE website.


The simplest example for programming a PICAXE is making one LED flash. I’ve wired a resistor and an LED to output 1 of the PICAXE on the development area of the board. These are wired in between the output pin/pad and the ground/0v rail:

To make the LED flash the following code is used. This tells output1 to turn on (high), pause for 500 milliseconds (half a second), then turn off (low), pause again, and loop back to the ‘main:’ label:
|
main:
goto main |
high 1 |
In the next example I’ve wired a standard R/C style servo to the output. The wiring diagram and code can be found on the PICAXE website in the manuals section.
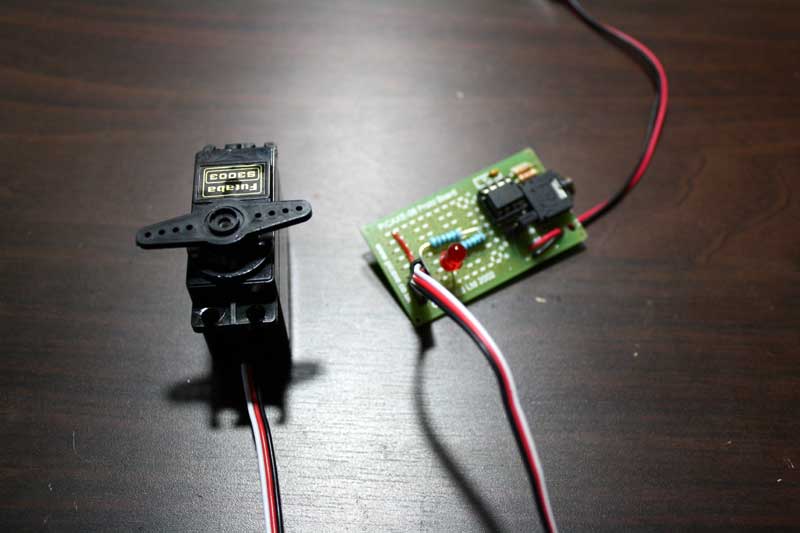
Obviously there’s more to see in the YouTube video that goes with this section, where you can see the LED flash and the servo actually moving.


About The Author
James Bruton
My name is James Bruton, I live in Southampton, UK. Please note that this is my personal project website, I have no products for sale, most of the information is provided so that you can have a go yourself... Read More